*Kitchen Remodel Project*
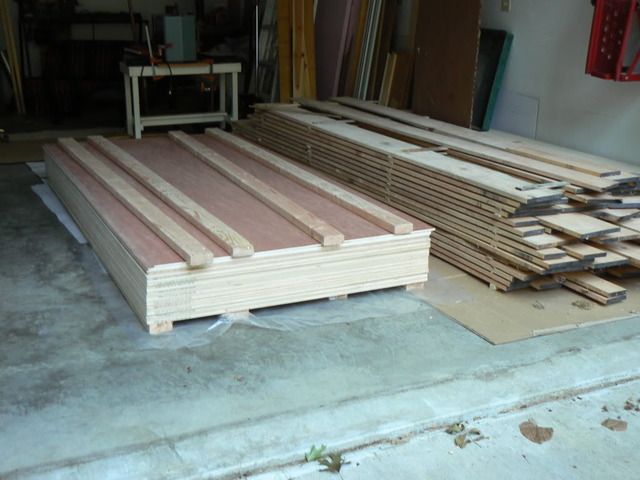
I've taken advantage of a week off from work and have been able to make some real progress. We started my vacation week by getting the plywood to make the cabinet carcases. We don't have a vehicle big enough to haul the 4' by 8' sheets so we borrowed my dad's truck & trailer and picked up 10 sheets of ¾ inch oak plywood for the box sides and shelves and 7 sheets of ¼ inch for the case backs and drawer bottoms.
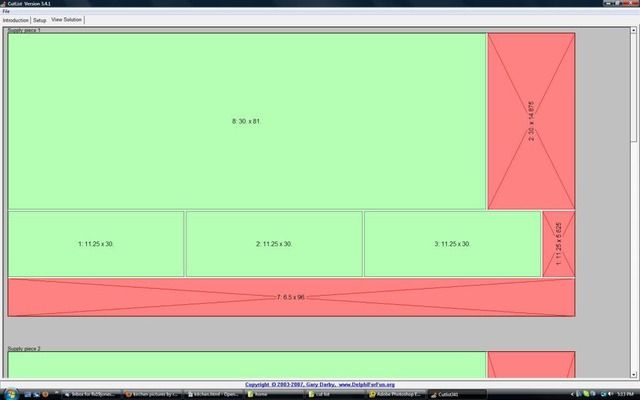
Of course I want to use my materials as efficiently as possible so I entered the list of all the plywood parts that I will need into a program that I found on the Internet called cutlist341. This program was able to print out diagrams showing how to cut the plywood with the least possible waste. Here's an example.
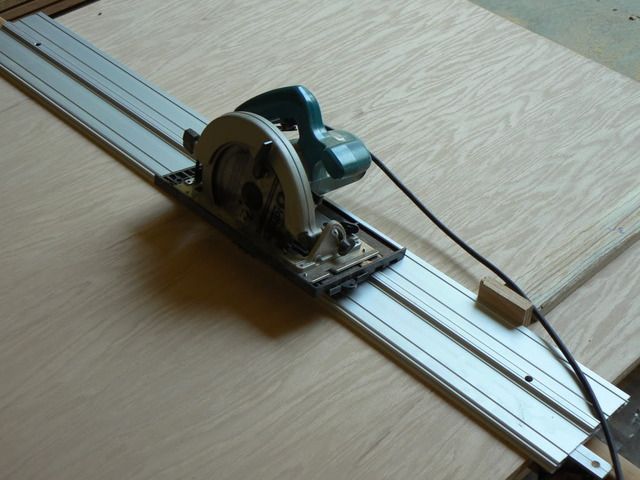
Instead of using a table saw to cut the plywood into the required parts I used my circular saw along with a very cleverly designed fence/jig called the EZ Smart Guide System. I'm quite impressed with this jig. Other saw guides that I had used in the past allow the saw to wander a bit when making the cut making it very difficult to make precise cuts. This jig completely eliminates this problem and makes it easy to achieve good results.
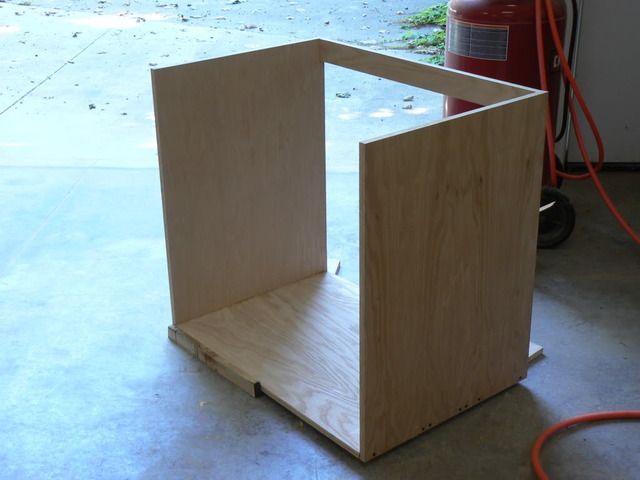
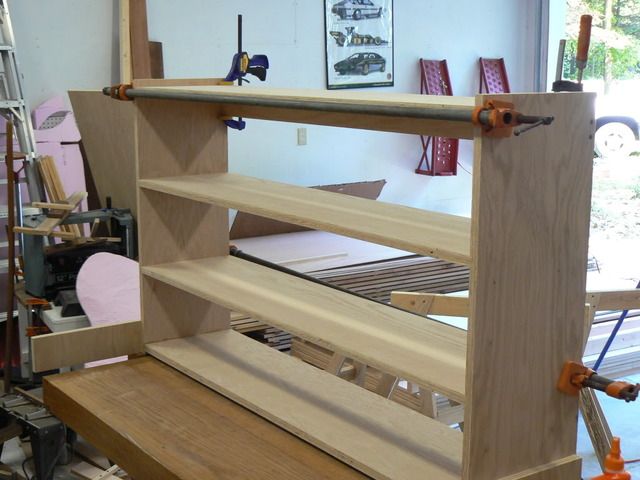
Cutting things up is all well and good but the object of the exercise is to make cabinets so it was especially rewarding to actually start assembling the carcases. Here's the first (and simplest!)
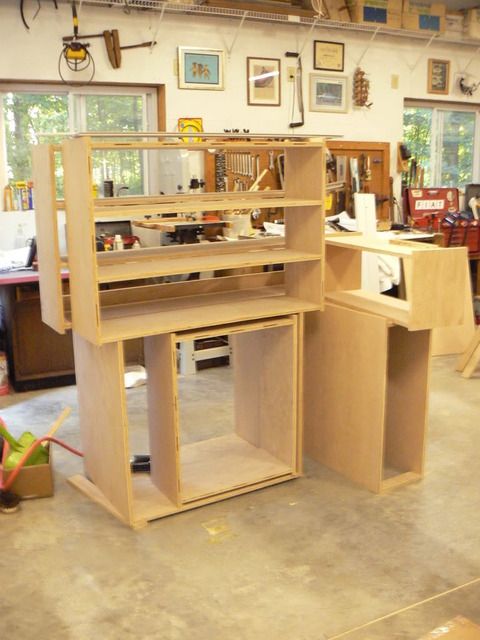
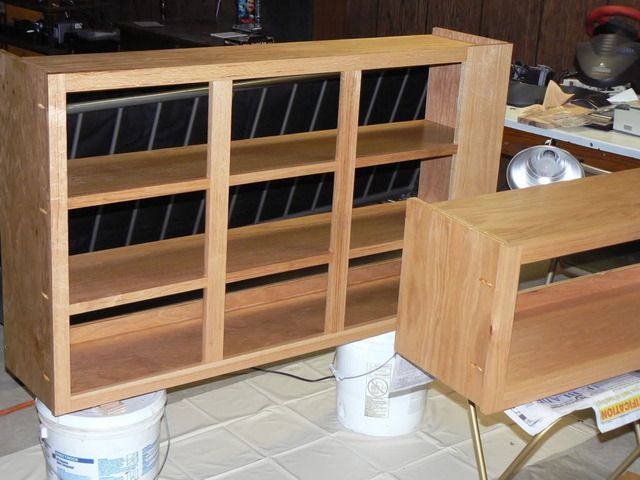
Turning a stack of lumber into a bunch of cabinets is not a simple project. Great amounts of shop time this week was spent figuring out things as I worked. Now that I've got a good start the project should, in theory, go more quickly. Here's the first upper cabinet.
The fruits of my week's labor. Six down – six to go!
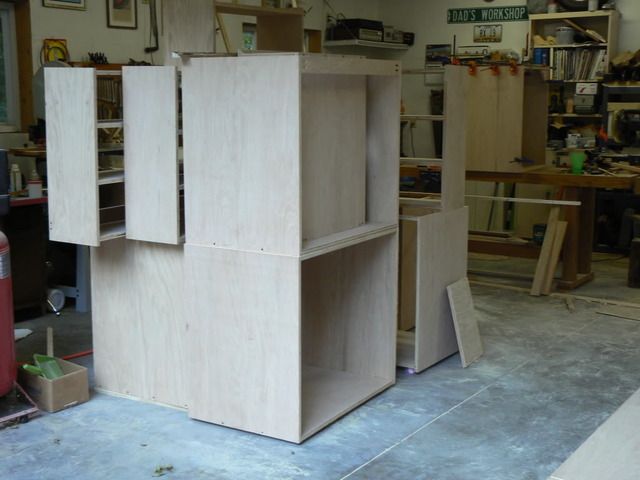
It's been slower going since my vacation but I have been making some progress on those occasional days off when we don't have other things to do. Here are the first eleven cabinet carcasses – only two to go! Now if you're paying attention you've noticed that the cabined count increased from twelve to thirteen between my vacation and now. This is because I decided that it would make more sense to build two small, simple cabinets in place of a single large, complicated one that was in my original design. Although I think this change is a positive thing it's still a bit disconcerting that my “finalized” design isn't as final as I thought it was... The two that remain to be built are the tall cabinets. These will be the trickiest of the bunch to build, not only because of their large size but also because they must fit precisely in the space between the soffit ant the floor. No room for error here...
When the carcasses are completed the next step will be face frames.
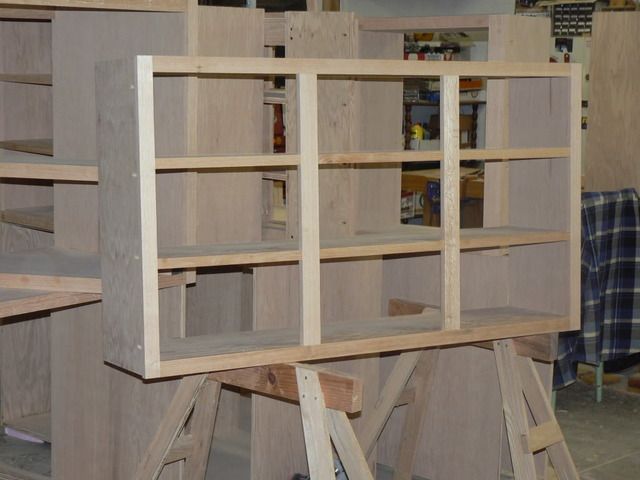
Assembling the face frames has been rather slow, tedious work. Lots of parts to mill, lots of joinery, and very close tolerances all add up to a time consuming project. At least they're starting to look like cabinets now. They'll look even more like real cabinets once I put the backs on but I think I'll wait till I've applied finish to the insides of the cabinets before I take that step.
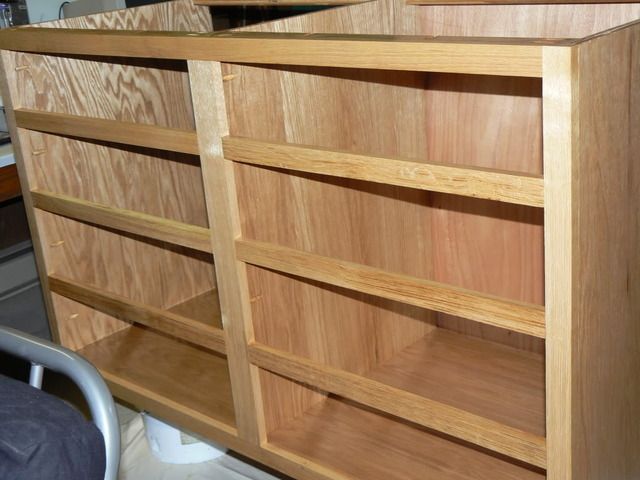
The arrival of winter weather has made the made the shop too cold to comfortably work in for very long so I decided to bring the cabinet boxes that I've already made into the basement and apply the finish. The first four have received their three coats of polyurethane. They're looking pretty good if I do say so myself!
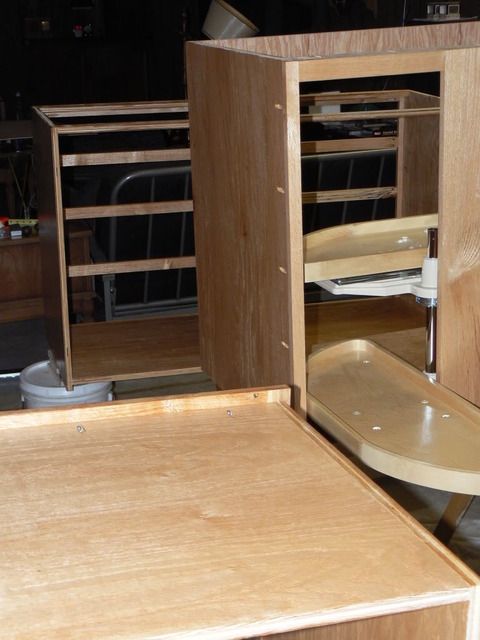
Progress continues to be slow over the long, cold winter but I have been able to get fully a dozen cabinet carcasses face framed and varnished. I was also able to install the pull-out shelves on a couple of the lower cabinets including the fancy corner cabinet pull-out shelves shown in the photo above.
One would think that it should be easy to figure out how tall to make each drawer on a four drawer base cabinet but it didn't work that way for me. Most commercial cabinets have either four equally sized drawers or one shallow and three deeper drawers of equal size. My design follows the Shaker tradition of making each drawer a unique height with the shallowest drawer on top and each one below it incrementally deeper. The problem is that there is more than one way to lay out graduated drawers and I spent way, way more time than it was worth determining which way was "best". Take a look at the drawer spacing in the photo above. Does it look OK to you???
