 |
Lighting Upgrades!!
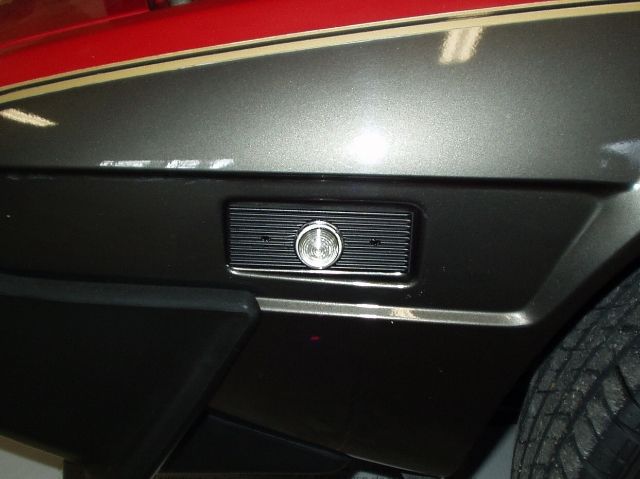
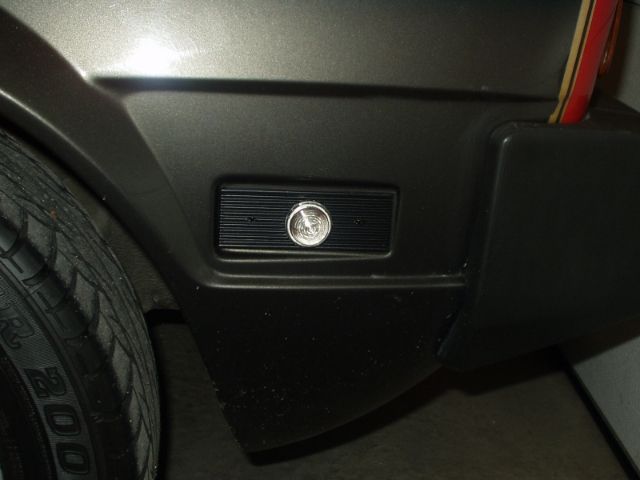
My latest project has been to work on my X's lighting. I'm not sure it's fair to say that replacing the car's OEM rectangular amber & red marker lights with clear "Euro" style round lights with amber & red LED bulbs is actually an upgrade but this change does give my car a unique look that I quite like. Here are two on the lights, the component pieces of one and the other completely assembled.

It's my understanding at least that X1/9's in markets other than the US were typically delivered with amber lights of this type on the car's front fenders and like sized ribbed plates (without bulbs or lenses) on the rear fenders. The reproduction lights that I bought bought from X 1/9 Parts Holland are nicely made with power coated aluminum backing plates. Correctly colored colored LED bulbs (from superbrightleds.com) shining through the clear lenses let me use the same lights on both front and rear.

Before and after, front and back...


Proof positive that the new marker lights actually work! The dome shape of the new lights lenses makes them stand out from the body a bit more than the OEM lenses and thus make them more visible, an unexpected bonus. In this photo you can also see the Euro front turn signals/marker lights that I installed a few years ago (now fitted with bright new led bulbs) and the Wessem brand European headlights that I've had for at least ten years.

I like these headlights a lot. Not only do they accept H4 Halogen bulbs that are brighter than stock but they also have little 5 watt "city lights" that I've wired to come on with the marker lights, as you can see in the photo above. That's the good news. The bad news is that the insides of these headlights had become increasingly cloudy over the past few years.

Since I was working on the new marker lights I decided it would be a good time to see what I could do about the cloudy headlights. With the headlights on the bench it was obvious that cloudiness was a caused by dirty water that had splashed up from the road and past the poorly sealed bulb carrier and then dried on the inside face of the headlight lens. Cleaning the inside of the headlights turned out to be a simple task accomplished with only some glass cleaner, a bent toothbrush, and a rag.

Here is the headlight all cleaned up and looking as new. The next step is to figure out how to keep this problem from returning...

My solution was to cover the bulb holder with a waterproof, heat resistant, cup shaped material. What I found that fit the bill were silicone muffin cups! This cheap eBay find should work just great to keep the mud out of my headlights!!