*Kitchen Remodel Project*
..
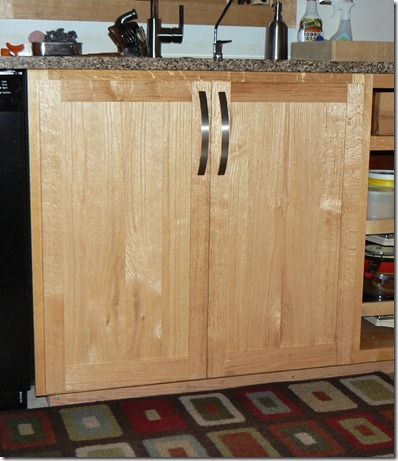
I applied the final coats of varnish to the latest batch of five cabinet doors this week and installed them today.
With the doors on the sink cabinet we can no longer see the cleaning products and plumbing, attractive as they are. We think the full height doors look better that the typical false-drawer-on-top design.
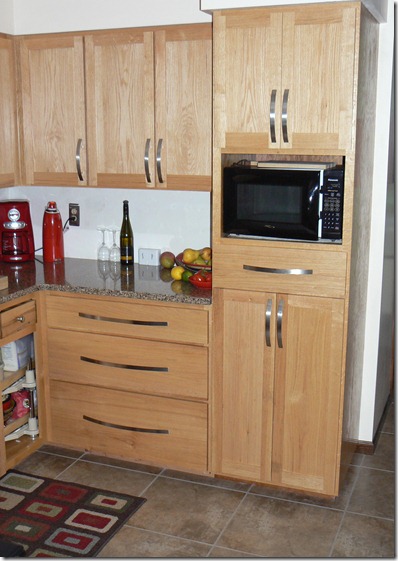
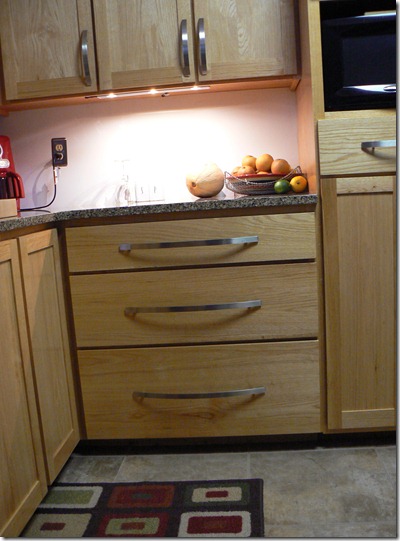
The three doors to the left of the microwave cabinet came out quite well. A measuring/mental math error when making the cabinet’s face frame made me fear I’d need to make the doors different sizes to keep the spacing between them consistent. By using hinges with different offsets on each door I was able to work around the problem. I’ve got to say I’m rather pleased with the result.
cheers – dj
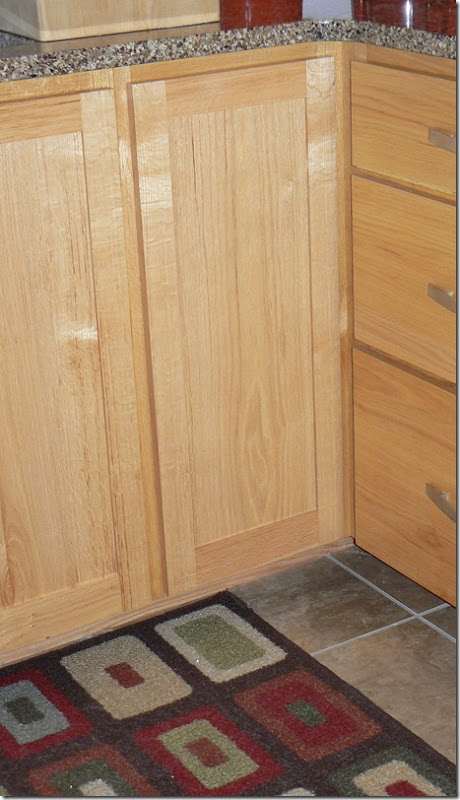
I was on vacation last week and spent most of the time working on the kitchen and made real progress. It took a bunch of time to assemble and varnish the last four doors. The first door, the largest in the kitchen, is at the end of the peninsula and opens into the dining room. It’s on the left in the photo.
Inside the cabinet is another set of the same pull-out wire racks we used in the microwave cabinet. Su has already filled these with cookbooks!
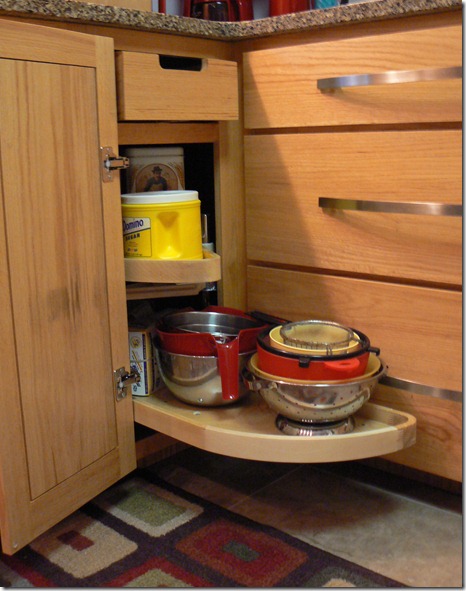
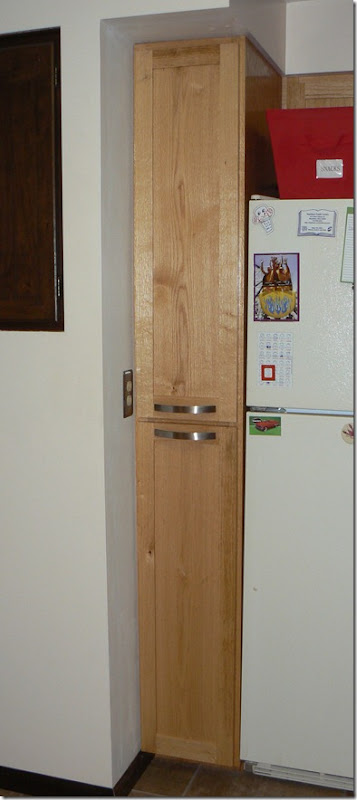
The second door is for the corner cabinet. this one required special hinges so that you can access the pull out shelves inside. The other two doors completed this week will go on the built in cabinet on the wall to the left of the fridge but those will have to wait until I have a chance to build matching frames.
I also installed LED under cabinet lights to the left of the microwave cabinet and to the right of the fridge. They came out quite nicely if I do say so myself.
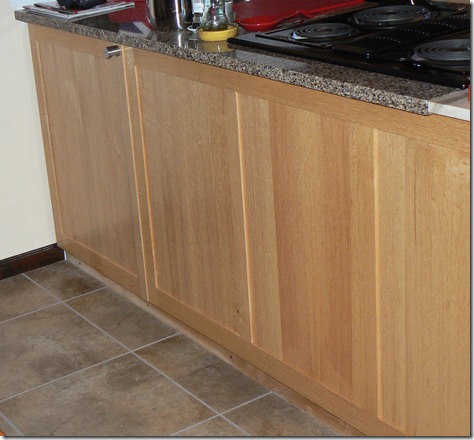
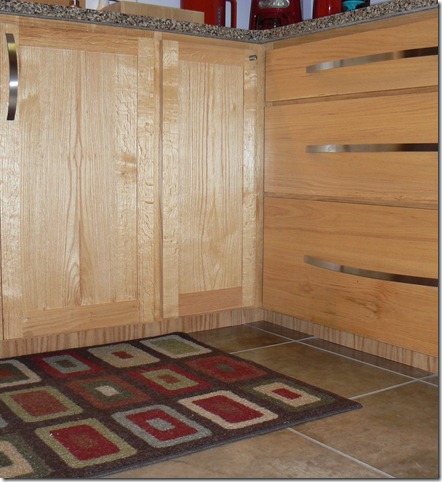
If you're real observant you noticed that I spackled over the flaws in the back splash and sealed it with a quick coat of primer. It looks much cleaner and brighter now.I’ve been able to check a few more items off the ever shortening to-do list. First I covered the raw two by four cabinet bases with quarter inch oak plywood. Most kitchen cabinets just use black hard board in this area but I thought it would look better to match the cabinets. Each piece needed to be scribed to match the contours of the floor (not as flat as it appears) so it took a fair while to accomplish. Here, take a look.
The other thing to notice in this photo is the knob on the corner cabinet. Here’s the same cabinet with the door open.
Another of the week’s projects was applying an oak face to the small knife drawer and making the cut-out to use a a pull. I’m pleased by how well it came out. Today’s project was installing the last two paneled doors in the kitchen proper.
To the left you can see part of a dark stained built in cupboard door. As you see the built in is around the corner so it obviously can’t be considered to be “in” the kitchen.. In any case, replacing the cupboard doors with oak doors to match the kitchen is next on the agenda.
