2007 Honda Civic Si Sedan
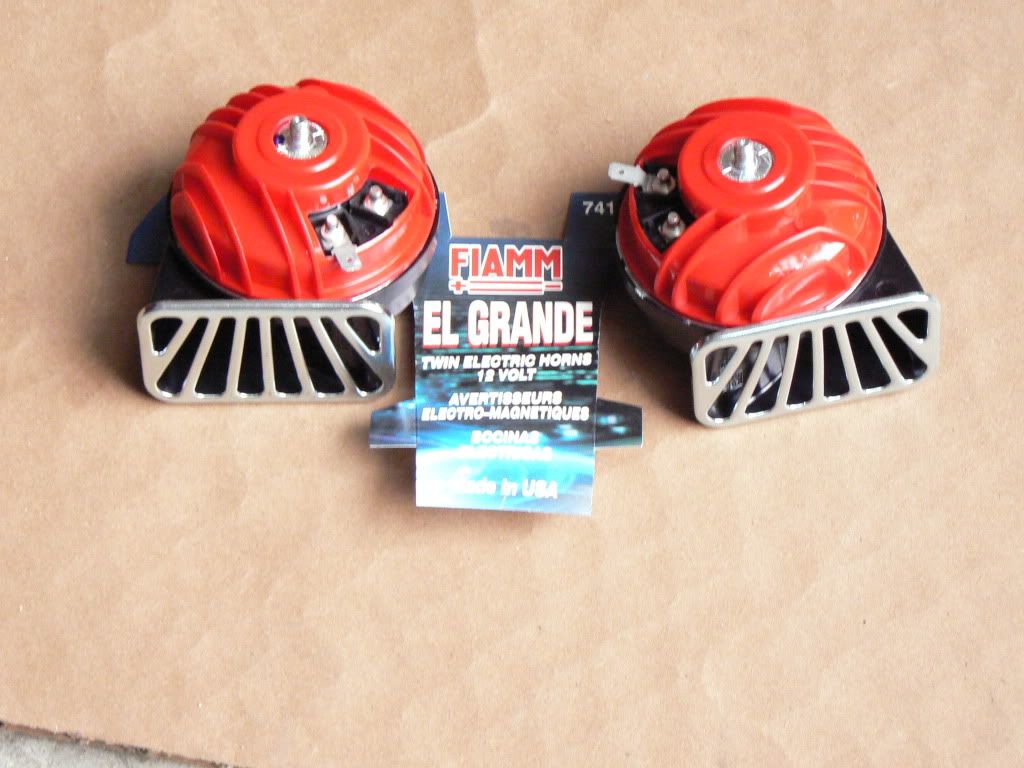
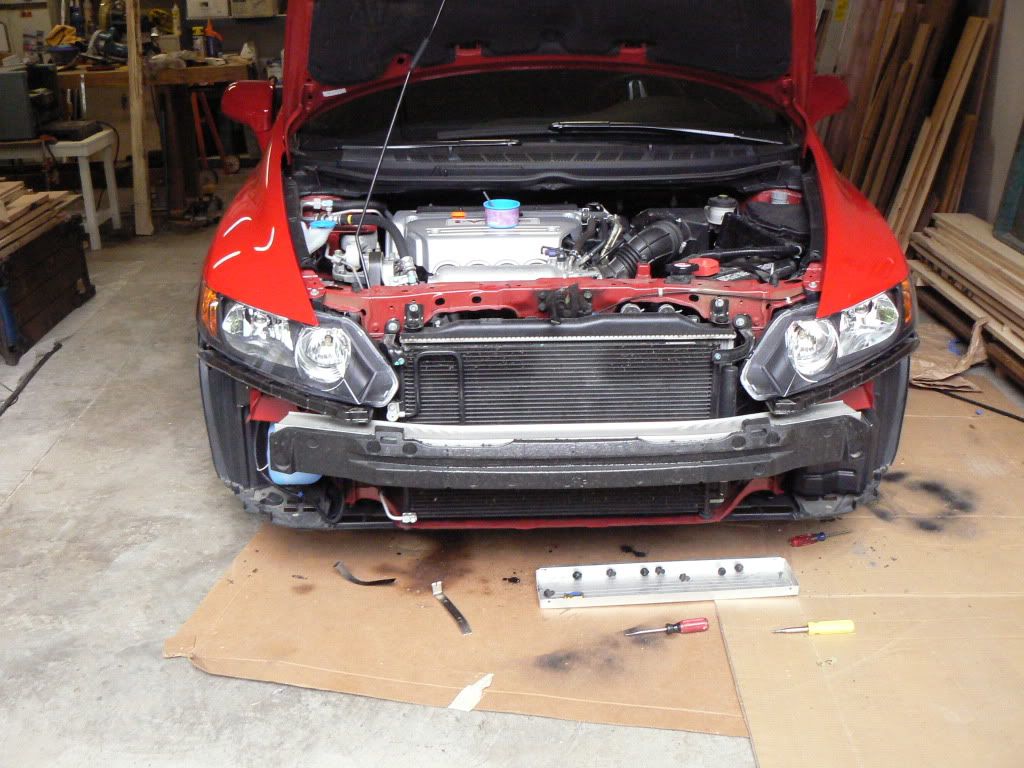
A problem (if you want to call it that) with the Si is that it comes from the factory pre-customized. This is only a �problem� because I enjoy tinkering with my cars & personalizing them. The good folks at Honda designed the Civic Si so well that I haven't found many things about the car that I've wanted to change. One of the few things about the car that wasn't quite up to standard was the wimpy OEM horn so I decided to replace it. This turned out to be a bit more of a project than expected because the front bumper cover needed to be removed to access the horn's mounting point! I chose Fiamm's �El Grande� horns for the replacements for three reasons; a) their current draw in low enough that they shouldn't overload the OEM circuit, b) they are small enough to fit, and c) they are LOUD!
 After a bit of research I was able to find detailed instructions on removing the bumper cover, three pages worth!. Glad I had this info as it wasn't as straight forward as it could be.
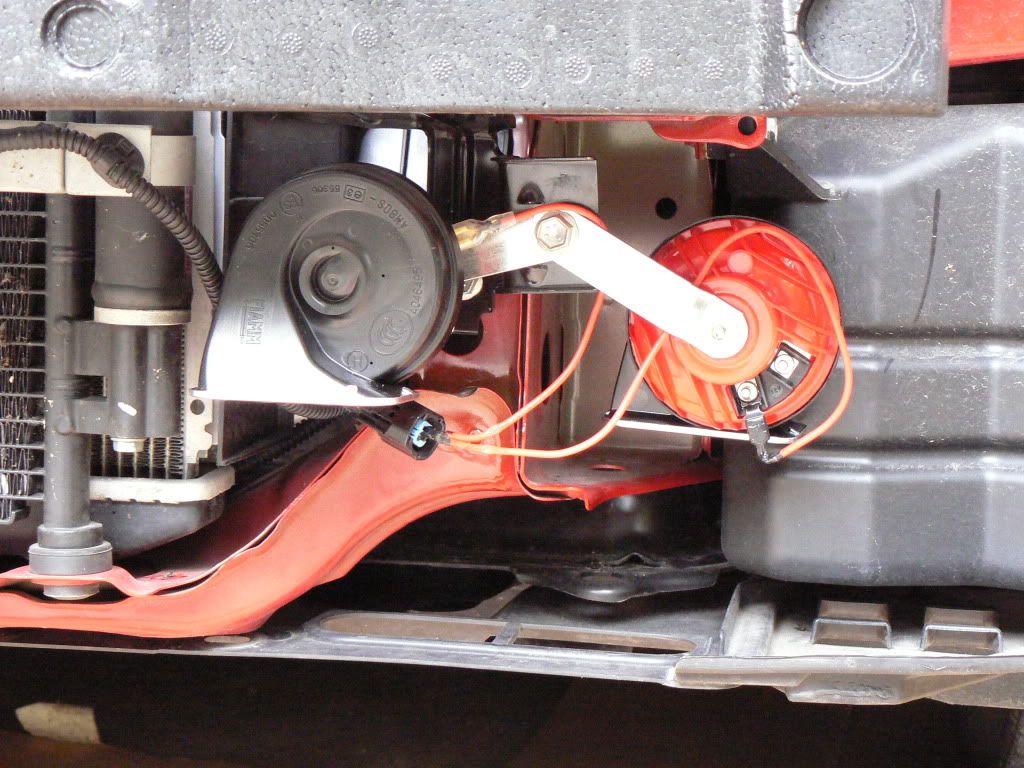
 With the bumper cover off it was pretty easy to fabricate a wiring harness to connect them to the existing circuit and to bolt them into place.
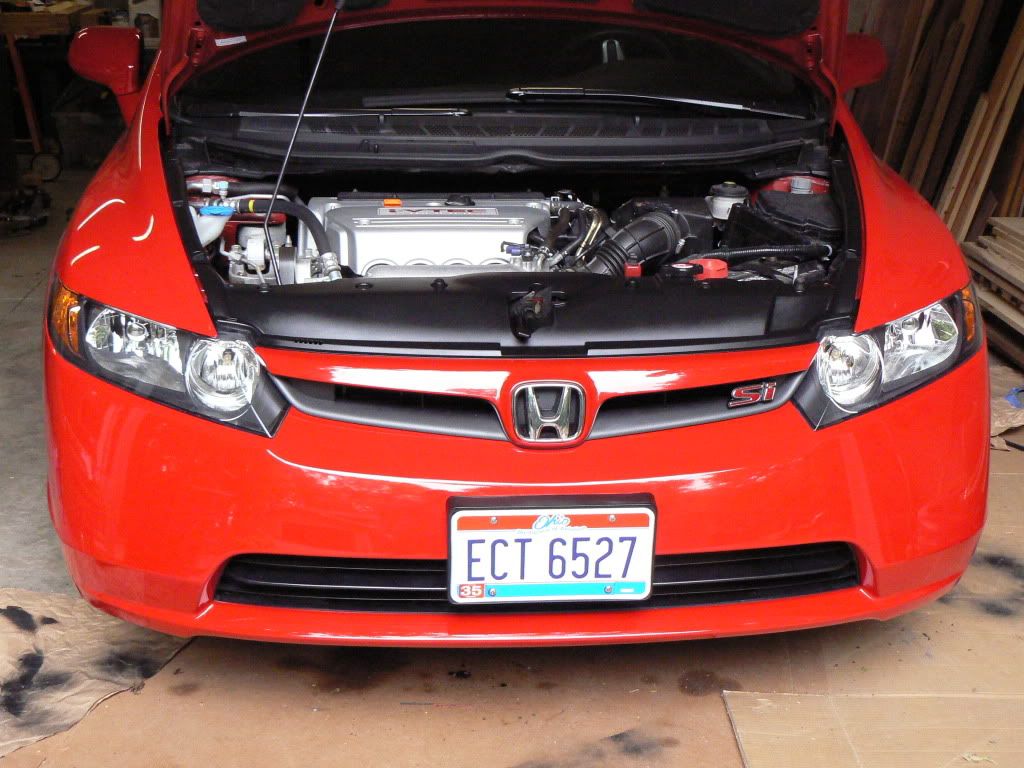
 �Assembly is the reverse of removal� Now everything is back together AND other people can actually hear the horn when we use it!
 This next bit will show the remarkable results I had restoring hazy plastic headlight covers. Yes, I realize this really doesn't have anything to do with our Si but I did use this technique on our '97 Civic (as well as the '96 Dodge minivan in the photos) so that will be my excuse for putting it on my Honda page...
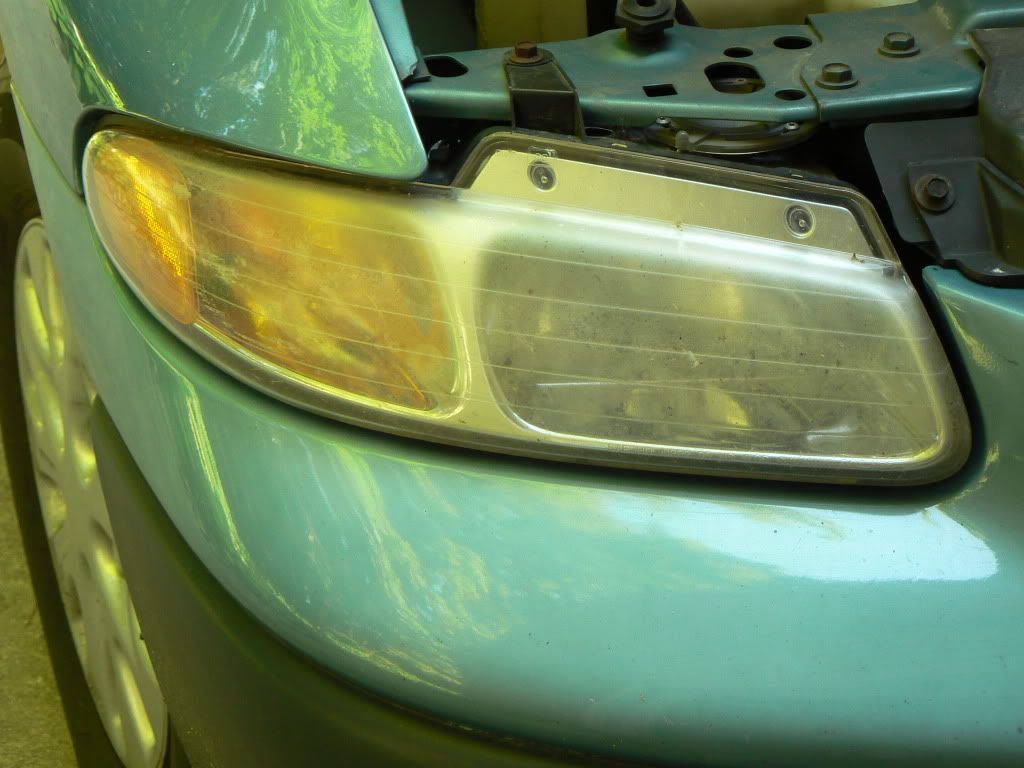 This is the "before" photo. Not only does the hazy headlight lens look bad but they also seemed to make the headlights, especially the low beams, less effective
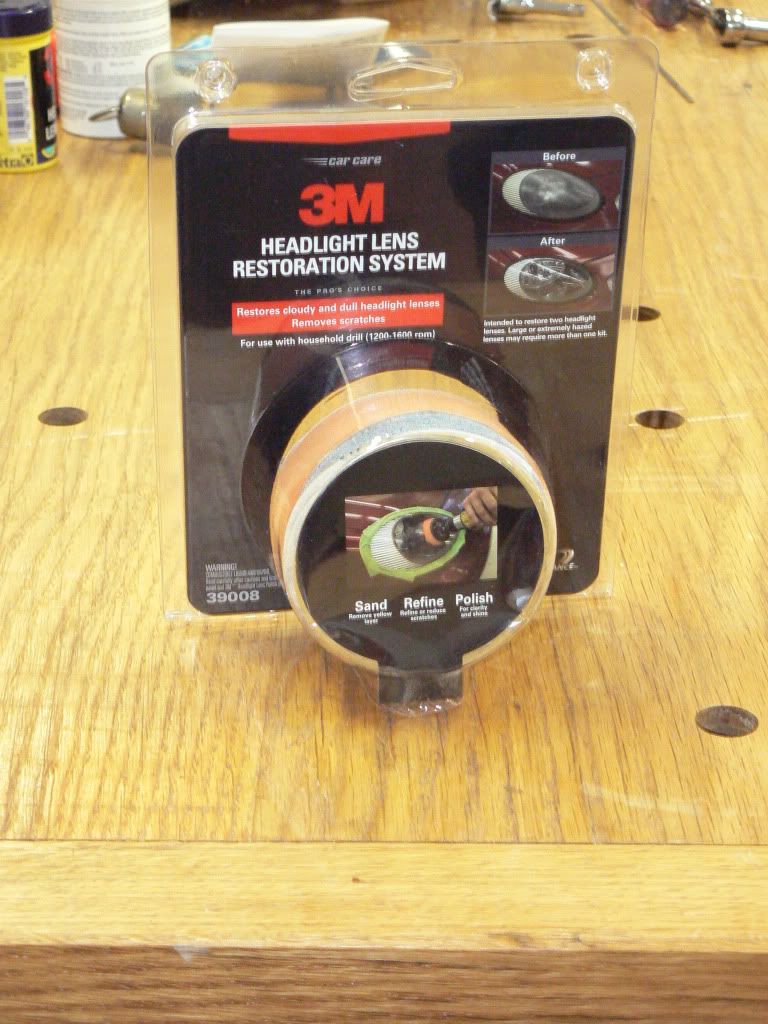
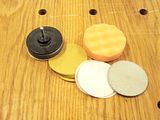 I used 3M's "Headlight Lens Restoration System". This kit contains a disc pad holder (that is chucked in a electric hand drill)along with 500, 800, and 3000 grit abrasive pads, a buffing pad, and polish.
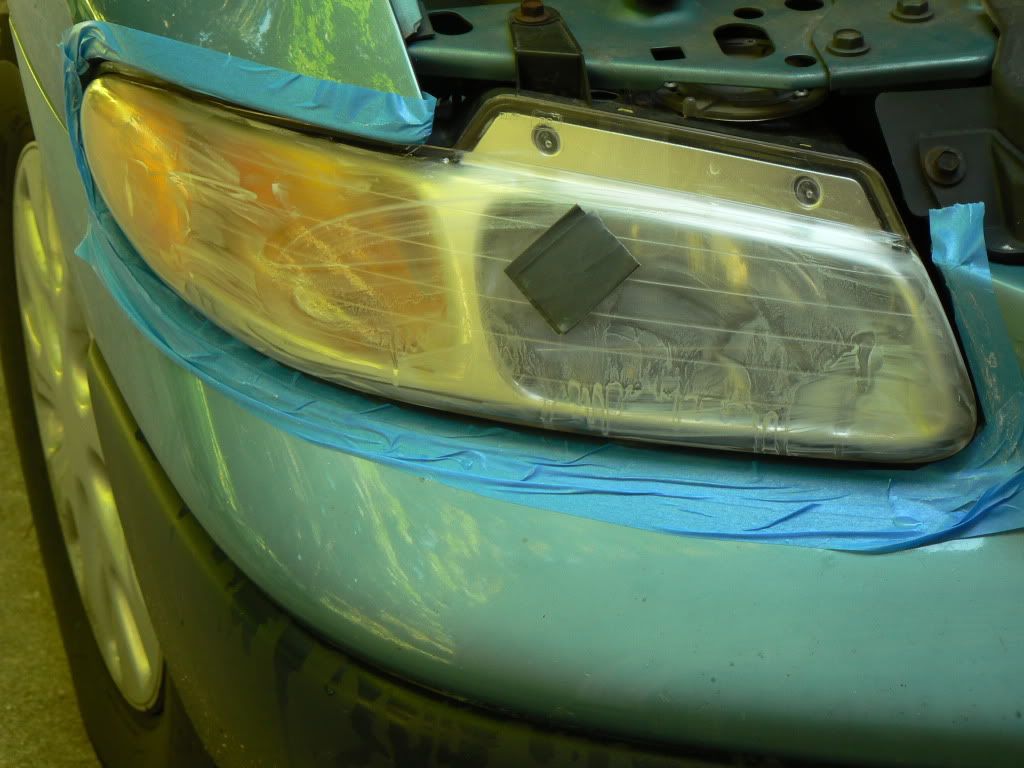 As per the instructions I first masked off the painted areas around the headlights, attached a 500 grit pad, plugged in the drill, and started sanding. Almost immediately the sanding pad was clogged so I sat the kit (and directions) aside and wet sanded the lens by hand with 400 grit paper until the surface was uniform. This bit took a while. If I had it to do again I may have started with 320 grit and then moved on to 400 grit.
 With the headlight lens already sanded smooth the kit's 500 grit pad quickly removed the 400 grit scratches. The directions suggest replacing the sanding pads as soon they clog, which happens VERY quickly. Better to use a old woodworking trick and clean & continue to use the sandpaper discs. The "abrasive cleaning stick" I used is really little more than a oversized rubber eraser and indeed, a normal size office type eraser would have worked just fine in this case.
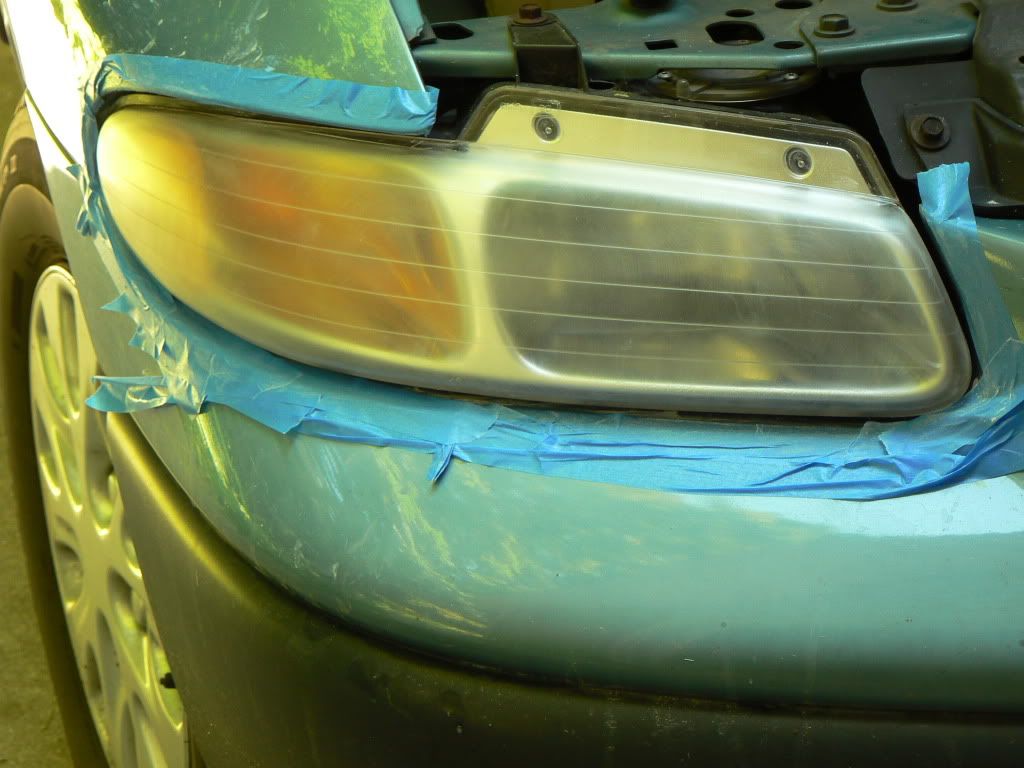
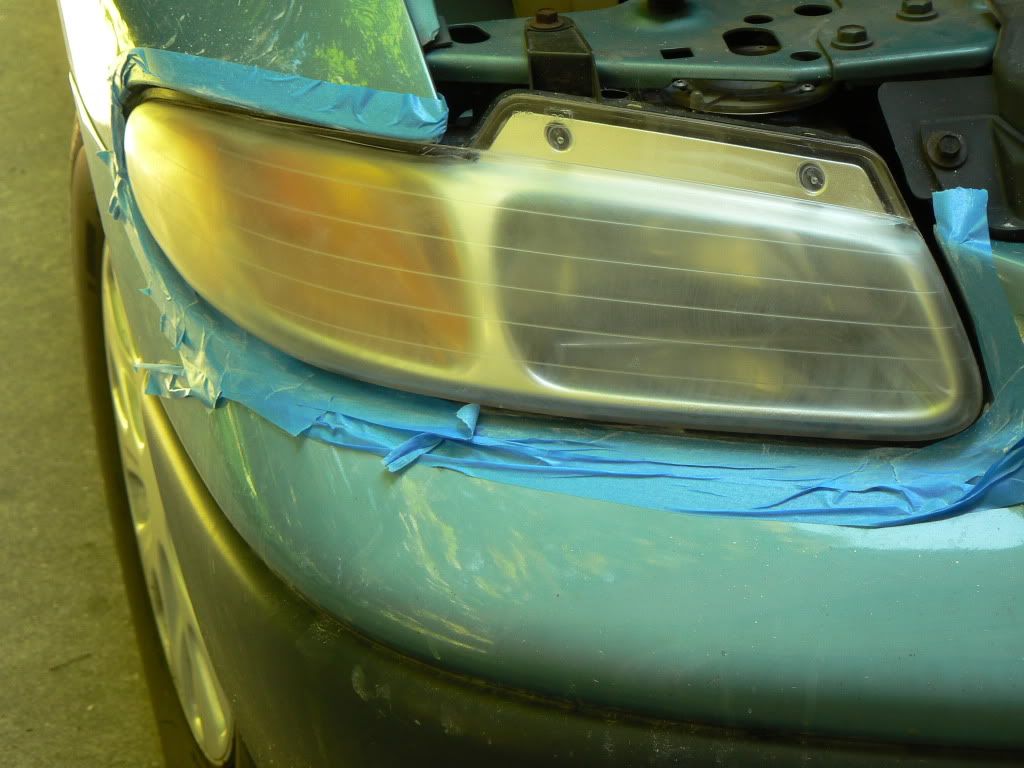 On to the 800 grit pad. Do be sure to remove ALL of the 500 grit scratches! Rather surprising to see that up to this point the lenses became MORE cloudy with each finer grit!
 The next step is wet sanding with the 3000 grit pad. Now it's starting to clear up. It doesn't take long, just be sure ALL of the 800 grit scratches are sanded away.
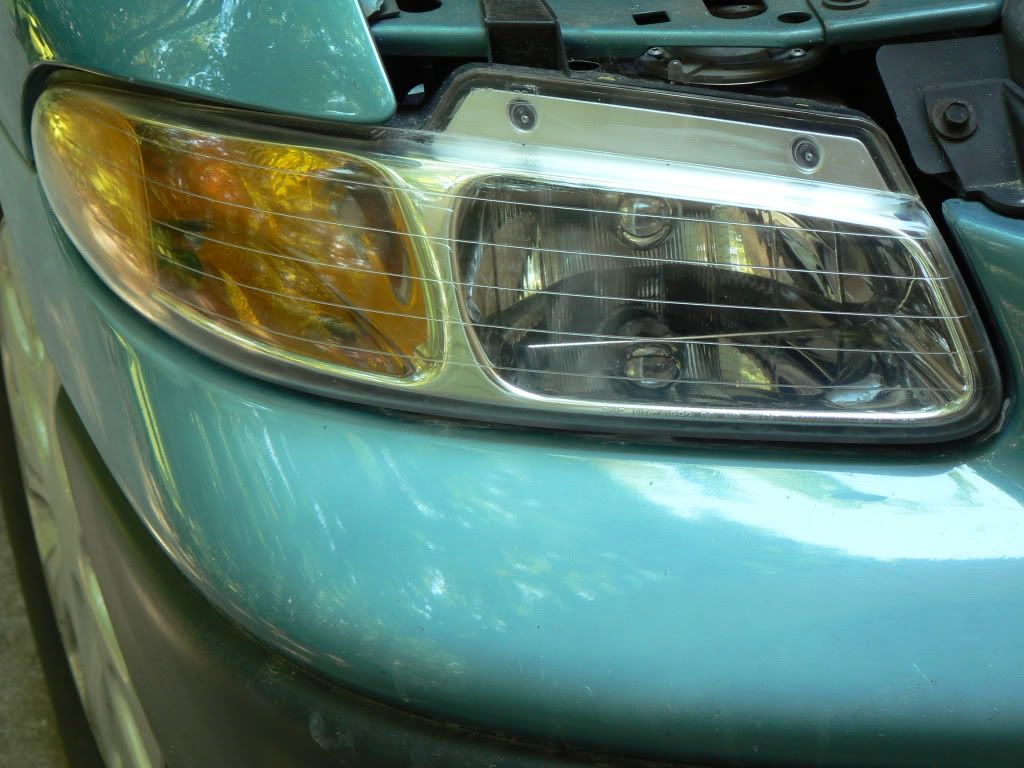 The final step is using kit's foam polishing pad and plastic polish. In just a short while the headlight looks almost like new! Remarkable!! The kit's package says that it contains enough materials to restore one pair of headlights but by wet sanding before using the kit and cleaning the sanding pads I restored two pair and still have materials left over...
 Home. . .


